
A friend comes over, asks for the Wi-Fi password, and you type it in without thinking. What you have actually done is place their phone — and every app, and every unpatched vulnerability on it — onto the exact same network as your laptop, your printer, your smart lock, and the camera above the front door. On a normal home network, any device that connects can, in principle, see the others. A guest network is the single setting that stops that, and almost every modern router has it. Here is what it does and exactly how to turn it on.
What a guest network actually is
A guest network is a second Wi-Fi name (SSID) broadcast by your existing router, separated from your main network so that devices on it can reach the internet but cannot see the devices on your primary network (Wireless LAN, Wikipedia). Technically this is usually done with a separate VLAN or with “AP isolation” / client isolation, which tells the router to drop traffic between wireless clients even though they share the same radio. The guest gets bandwidth and a path to the outside world; they do not get a map of your internal devices.
Why it is worth the two minutes
The obvious reason is politeness — you do not have to give out the password to the network your banking laptop sits on. The less obvious reasons are the ones that matter:
- Your visitors’ devices are a black box. You have no idea what is running on a friend’s phone. Isolating them means that if something on their device is compromised, it cannot pivot onto your printer or your NAS.
- Your IoT gadgets are the weak link. Smart plugs, budget cameras, and voice assistants are notorious for weak default security. Keeping guests off the main LAN limits what a bad actor could reach even if they got onto the guest side.
- You keep your main password private. Once you hand out the main password, you have to change it to revoke access. With a guest network, you change only the guest password, and many routers let you rotate it on a schedule or disable the guest SSID entirely when no one is visiting.
- Bandwidth control. Most guest-network implementations let you cap how much of your connection a guest can use, so one person downloading a movie does not stall your video call (Wireless LAN quality of service).
How to set it up (the general steps)
The exact menu names differ by brand, but the path is the same on virtually every consumer router from ASUS, TP-Link, Netgear, Eero, and Google (router vendor examples: ASUS, TP-Link):
- Open your router’s admin page. On a computer, browse to its address (commonly
192.168.0.1or192.168.1.1) or open the manufacturer’s app on your phone. - Find the Guest Network setting. It is usually under Wireless, sometimes labeled Guest Network, Guest Wi-Fi, or IoT Network.
- Enable it and give it a name. Use a distinct SSID — “Home-Guest” rather than something that hints at weak security.
- Set a strong guest password. Different from your main password, and still a real passphrase; “guest123” is not protection.
- Turn on isolation. Look for AP isolation, Client isolation, or a toggle phrased as “allow guests access to each other and to me” and make sure it is OFF for access-to-you — you want guests to reach the internet only.
- Optional: limit bandwidth and schedule. Cap the guest’s share and set the SSID to turn off at night or when no one is visiting.
- Save and test. Connect a phone to the guest SSID, confirm it gets internet, then confirm it cannot open your router admin page or ping your main computer.
Brand-specific notes that save a support call
On ASUS and TP-Link the guest network lives under the Wireless section and supports a separate password plus an access-time schedule. Eero and Google Nest put it in the companion app, often under a “Guest Wi-Fi” or “Family” toggle, and isolate guests by default. Netgear’s Nighthawk interface labels it Guest Network under Wireless and lets you restrict which band (2.4 or 5 GHz) the guest SSID uses — keep guests on 2.4 GHz if you want to reserve the faster 5 GHz band for your own devices.
The caveats you should know
A guest network is not free of trade-offs. Some smart-home gadgets expect to live on the same network as your phone — a Chromecast or a local-only hub may not be discoverable from the guest side, and a guest device may not be able to cast to your main-network TV. For those, either put the gadget on the main network (accepting the risk) or, on routers that support it, create a dedicated IoT VLAN with its own rules. Also resist the urge to name the guest network something like “FreeWiFi-NoPassword” — open guest networks invite the neighborhood, not just your friend.
The takeaway
Giving a visitor your main Wi-Fi password is the digital equivalent of handing them a key to every room in the house. A guest network costs nothing, takes a couple of minutes to enable, and confines visitors — and their unknown devices — to the internet alone, away from your laptop, printer, and smart lock. Enable it once, set a separate password, and turn it off when no one is over. It is the highest-leverage privacy setting most home networks never touch.
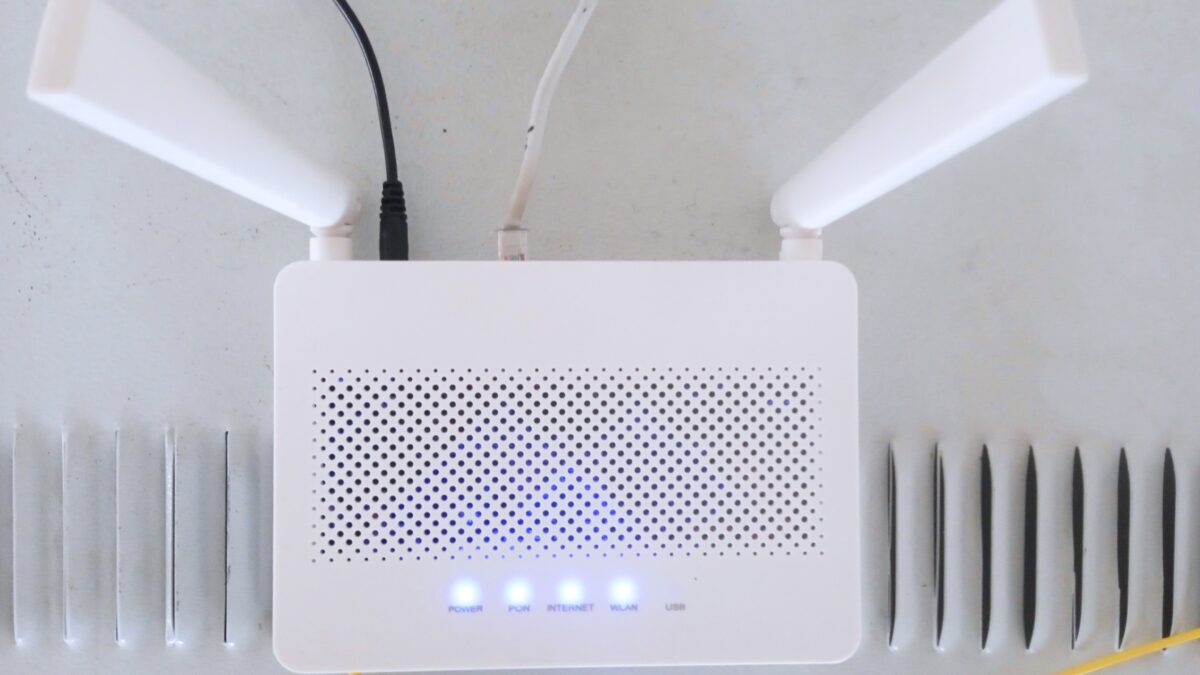
Image: A wireless router. Source: Wikimedia Commons (CC).